[Solved!] How to Delete A Screenshot on Mac
Taking screenshots is common for either sharing, guiding others, using later, or remembering something yourself. Similarly, it’s a demand to delete a screenshot on Mac because Mac offers limited storage. This deletion lets you free the storage space along with making the Desktop look tidy.
So it’s better to delete all the screenshots once your purpose gets served. But remember that Mac users find a little difficulty compared to Windows in completing a task. So do you know how to delete a screenshot on Mac properly?
The below guide provides you with both the manual and hotkeys method to satisfy this need. Even you will be able to learn how to take a screenshot at first, along with the FAQs!
Part 1: How to Delete A Screenshot on Mac (Trash Bin)
After knowing why there is a need to delete a screenshot on Mac, the next step is to learn how to do that. One of the popular methods is to drag the screenshots to the trash folder on Mac. Let’s know the step-by-step procedure:
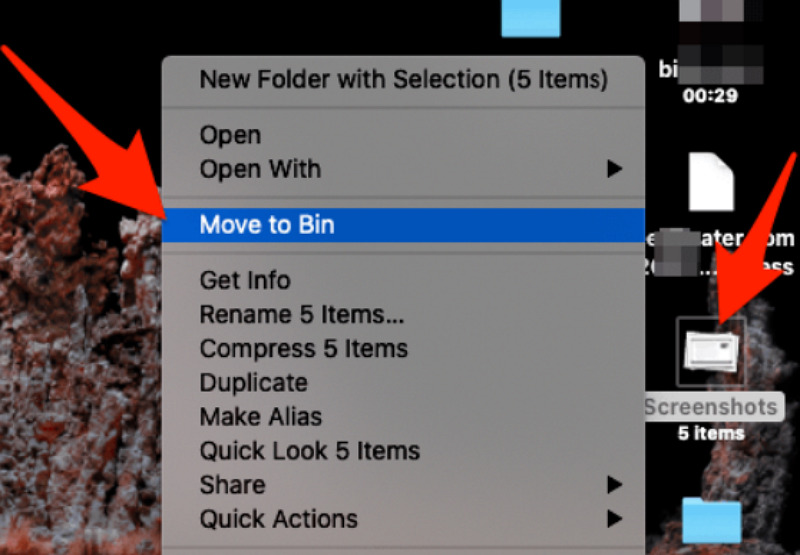
Step 01 First of all, you need to right-click on the particular screenshot to delete it and then choose “Move to Bin.” This will automatically be sent to the Bin folder of the Mac. Using the other way, you can select a particular screenshot on the Desktop and drag it to the Trash icon/folder.
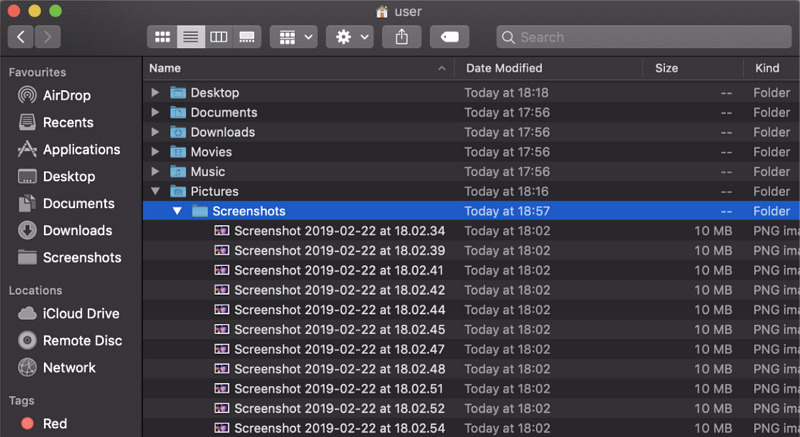
Step 02 The next step is to open the “Bin” on Mac and click the “Empty Trash” tab from the top right side of the Window. You are all done!
Part 2: How to Delete A Screenshot on Mac (Keyboard Shortcut)
Some people prefer using the hotkeys or keyboard shortcuts over manual processing. For those, here is an easy and quick technique to follow!
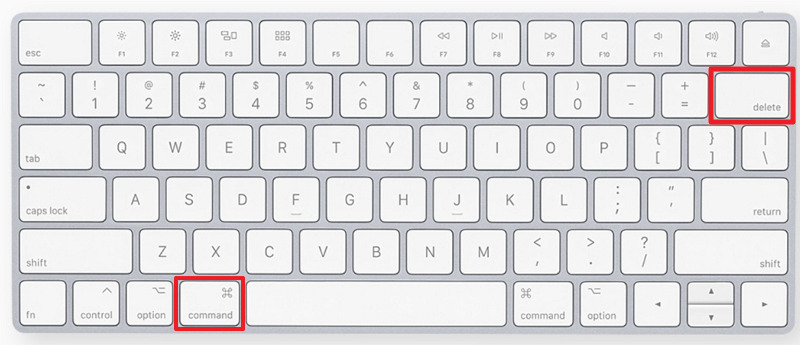
Step 01 Whatever screenshot you need to delete on Mac, click it, and press the Command+Delete button from the keyboard. This will send the particular screenshot to Bin. But always make sure to highlight the screenshot; otherwise, it will delete everything that’s highlighted.
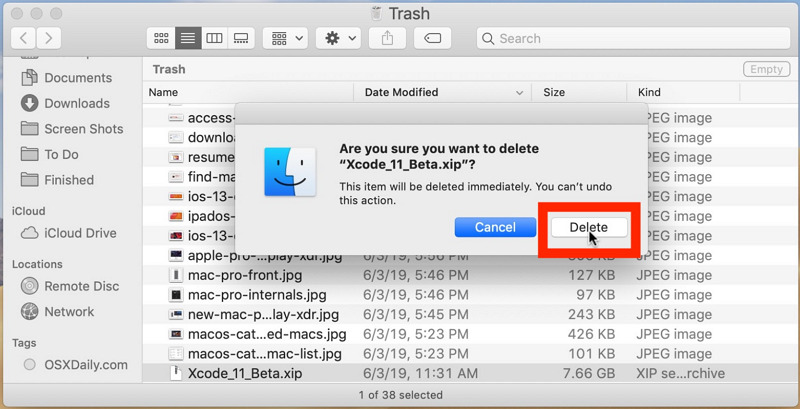
Step 02 The final step involves the action of emptying the Bin. You have to open the Bin, select a screenshot, and simultaneously hit the “Command” and “Delete” buttons. It will display a popup notification of confirmation. Click “Delete,” and that’s all!
Part 3: Extra Tips - How to Take and Delete a Screenshot Quickly on Mac
Besides deleting the screenshots from Mac itself, you may also need to take or delete a screenshot at a point. Then what is the best way and how will you do that? HitPaw Screen Recorder is user-friendly and efficient software to help you in this regard. It lets you effortlessly take and manage the screenshots afterward. Plus, you can capture the keystroke if required. Even you will get the HD image quality by tapping a single button. Not only this, but also this desktop software enables you to add stickers, text, and effects before capturing a screenshot. Last but not least, it allows you to add educational/gaming templates for presentation or guidance purposes and capture screenshots in the middle.
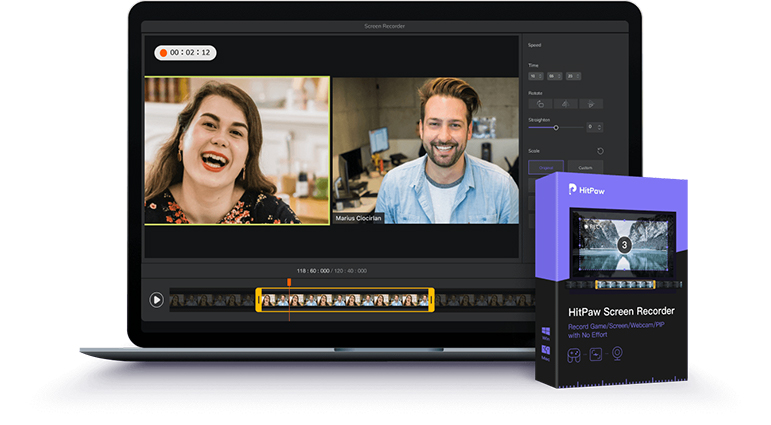
Here are some other superb features to consider:
- Record the screen, lectures, games, and devices
- Offer a live streaming option by using the Virtual Camera
- Add the desired sources, including media files and presentations
- Save the history of screenshots in the Images folder
- Edit the recorded videos, such as cut, crop, resize, and more
- Let you save the project for processing later
Let’s proceed to the steps on how to delete a screenshot on Mac through HitPaw Screen Recorder:
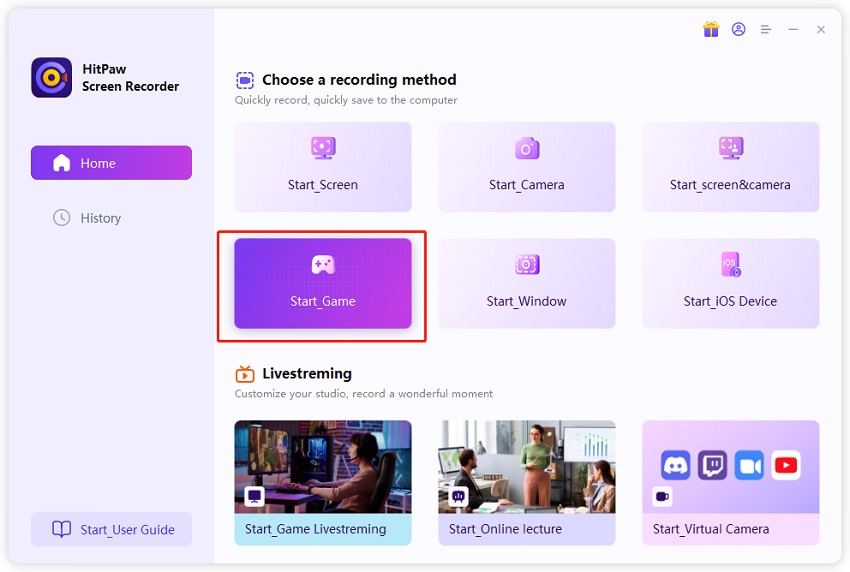
Step 01 The first step involves downloading and installing the software on your Mac. After opening, click Record > Screen
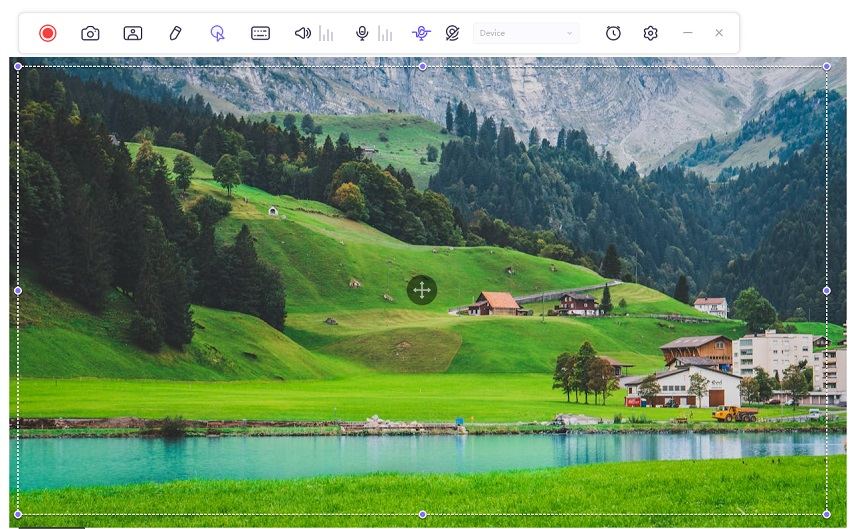
Step 02 Now, you are allowed to choose full screen or adjust the recording window according to your needs. After the display, you can either press the F6 button or the small “Screenshot” icon at the desired point.
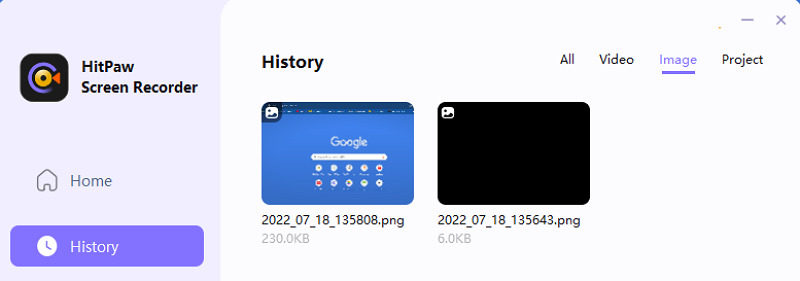
Step 03 If you cannot find screenshots later, they will be available in the History > Images folder of the software.This will be more clearer to find the screenshots and easier to save or delete them.
Conclusion
Just like taking screenshots is inevitable, it’s also crucial to delete a screenshot on Mac. It’s because you must not let the screenshots consume much of the storage space. And after reading the above article, you must be aware of how to do that via trash and keyboard shortcuts. But do you know how to take a screenshot efficiently? If not, you should try the HitPaw Screen Recorder at once. It always ensures that the quality of the screenshot is better than that taken via the default method.
FAQs about Deleting A Screenshot on Mac
1. Why can’t I delete screenshots on Mac?
The simplest option to delete a screenshot on Mac is by selecting and dragging it down to the Trash folder. But if you face any issue in this scenario, you can force delete it by pressing the Option-Command-Escape button. If this problem remains unresolved without displaying any error, the better is to restart your Mac and try it again.
2. Where are my screenshots on Mac?
Mac automatically saved all the screenshots on the Desktop by default. However, it’s easier than ever to change the destination folder. So you have to drag the screenshot from Desktop to Trash and then delete it again from the Trash folder.
3. How do I stop screenshots from saving to my desktop Mac?
You can easily change the location of saving screenshots from the Desktop to the desired folder. You need to open the Utilities folder and the Screenshots app in this situation. Either you can press Command-Shift-5 to reach the same point. After that, click Options and Save to option from the upper menu. Here you have to choose the location according to your requirements and all done!
4. How do I delete screenshots from iCloud?
If your screenshots are saved in iCloud, you might need to delete them from there to free space. Either you would have logged in to iCloud on Mac, otherwise, open the iCloud website on your browser, enter the log-in credentials for your Apple ID, select the folder you need to delete, like Screenshots and hit the Delete icon. To delete a file, double-click the folder and repeat the same process. That’s all!
5. How do I delete multiple screenshots at once on Mac?
Indeed, it’s challenging to delete multiple screenshots simultaneously on Mac. That’s why you can try to make a folder of all the screenshots you need to delete. After that, drag the folder to the Bin folder of Mac. Now, you can permanently delete all from the Bin or keep it there if required later. You are done!


 HitPaw Univd (Video Converter)
  HitPaw Watermark Remover

Share this article:
Select the product rating:
Daniel Walker
Editor-in-Chief
This post was written by Editor Daniel Walker whose passion lies in bridging the gap between cutting-edge technology and everyday creativity. The content he created inspires audience to embrace digital tools confidently.
View all ArticlesLeave a Comment
Create your review for HitPaw articles