How to Convert M4V to MP4 with Quicktime: A Detailed Guide
QuickTime, a versatile multimedia framework developed by Apple, is renowned for its playback capabilities. However, it also harbors lesser-known features, such as basic video conversion. While QuickTime doesn't directly support M4V to MP4 conversion, it offers an indirect method for achieving this task. In this detailed guide, we'll explore how to convert M4V to MP4 using QuickTime on Mac.
Part 1. Understanding M4V and MP4 Formats
Before delving into the conversion process, it's essential to grasp the differences between M4V and MP4 formats. M4V is a video container format developed by Apple, primarily associated with iTunes and DRM-protected content. On the other hand, MP4 is a more universal format widely compatible with various devices and platforms.
Prerequisites:
To convert M4V to MP4 using QuickTime, ensure you meet the following prerequisites:
- 1.Mac Computer: QuickTime is pre-installed on Mac systems. Ensure your Mac is up-to-date to access the latest QuickTime features.
- 2.M4V File: Obtain the M4V file you wish to convert. Ensure it is accessible and not DRM-protected, as QuickTime cannot convert DRM-protected content.
Part 2. How to Convert M4V to MP4 with Quicktime?
Converting M4V to MP4 with QuickTime is a straightforward process that doesn't require any specialized software or complex steps. Follow these detailed steps to convert M4V to MP4 using QuickTime.
Step 1:Open QuickTime Player: Launch QuickTime Player on your Mac. You can find it in the "Applications" folder or use Spotlight search to locate it quickly.
Step 2:Import M4V File: Click on "File" in the menu bar and select "Open File...". Navigate to the location of your M4V file and select it and Click "Open" to import the M4V file into QuickTime.
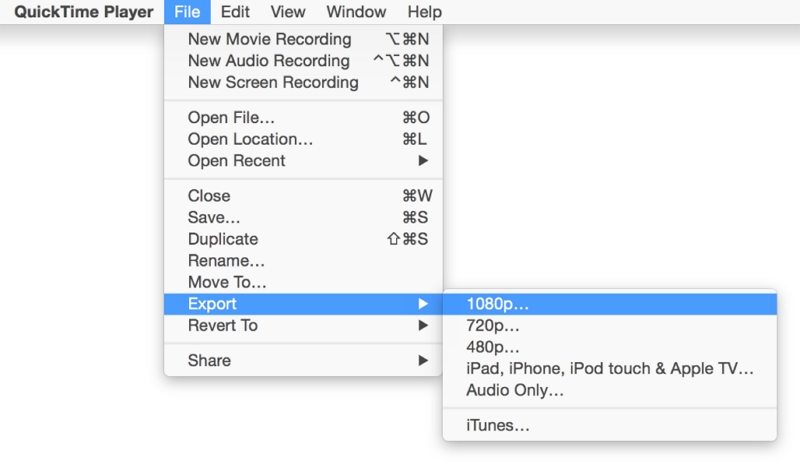
Step 3:Export M4V as MOV: Once the M4V file is open in QuickTime, navigate to the menu bar and select "File". Choose "Export As..." from the dropdown menu. In the export options window, select "Movie to MPEG-4" as the export format. This will save the file as an MOV (QuickTime movie) by default.

Step 4:Adjust Export Settings: Optionally, click on the "Options" button to adjust export settings such as resolution, quality, and audio/video codecs. You can choose from various presets or customize settings according to your preferences.
Step 5:Save as MP4: In the export options window, rename the file if desired and choose a destination folder to save the converted file. Ensure the "Export" dropdown menu is set to "Movie to MPEG-4". Click "Save" to initiate the conversion process.
Step 6:Convert MOV to MP4 (Optional): Once the MOV file is exported, you can further convert it to MP4 using a third-party converter like HitPaw Video Converter. QuickTime does not directly offer MP4 export options.
Part 3. Best QuickTime Alternative to Convert M4V to MP4 with Ease
HitPaw Video Converter stands as the preeminent choice for converting M4V to MP4, appealing to both newcomers and experts alike. This tool excels in speed, quality, and flexibility, boasting over 420 preset profiles, conversion speeds up to 120X faster with hardware acceleration, and robust security features. With HitPaw Video Converter, you can enjoy seamless playback of your M4V files across all your devices, whether it's a computer, smartphone, or tablet.
- Convert M4V files to MP4 format, preserving the original quality
- Supports conversion to various other formats such as MOV, MKV, AVI, FLV, WMV
- Efficiently convert multiple M4V files in bulk, saving you time and effort
- Perfect M4V to MP4 choice for both beginners and advanced users alike
- Enjoy seamless playback of your M4V files across all your devices
Below, we guide you through the process of converting M4V to MP4 using HitPaw Video Converter on Mac.
Step 1:Download and install HitPaw Video Converter on your computer. Once installed, launch the application.
Step 2:To add your M4V files, click on the "Add Video" button or simply drag and drop the files into the interface. This allows you to easily import the videos you want to convert.

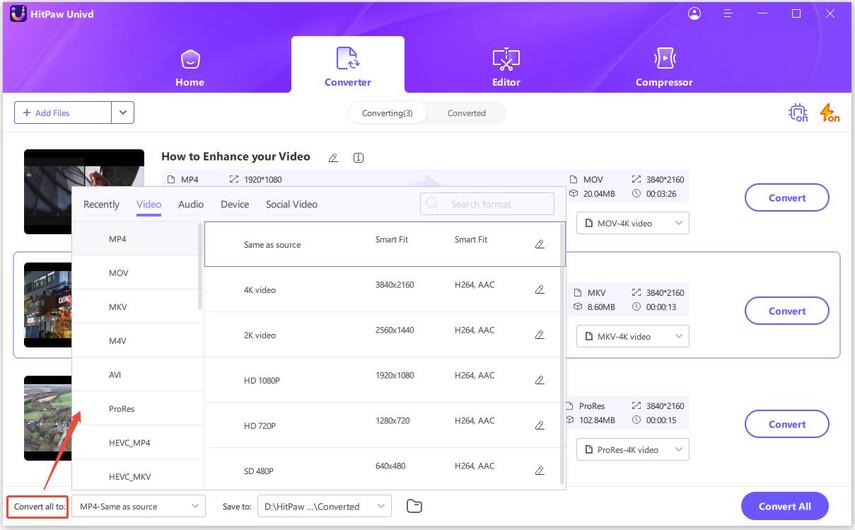
Step 3:From the output format options provided, select "MP4 Video" as your desired format. You can also customize the output settings such as resolution, bitrate, and frame rate to suit your needs.

Step 4:Choose a convenient output folder where you want to save the converted MP4 files. This ensures that you can easily access them once the conversion is complete.
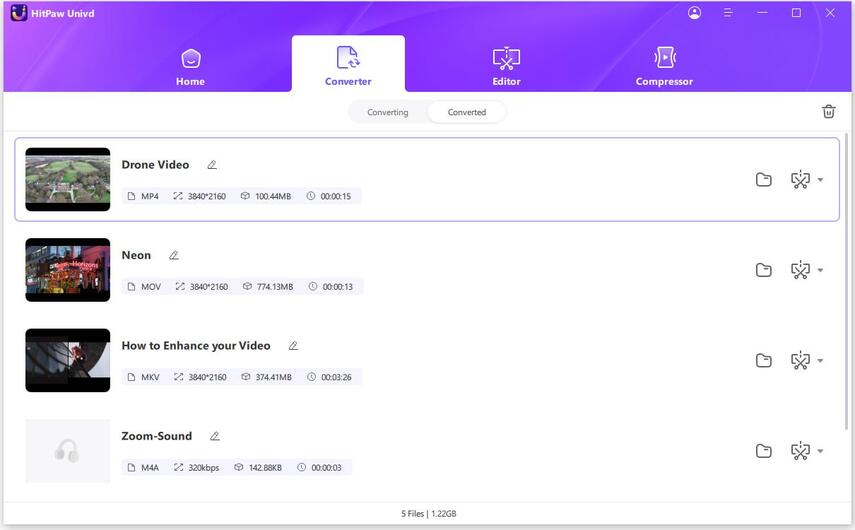
Step 5:Finally, click on the "Convert" button to initiate the conversion process. HitPaw Video Converter will quickly and efficiently convert your M4V files to MP4 format, preserving the original quality.

Conclusion
While QuickTime doesn't directly support M4V to MP4 conversion, it offers an indirect method through MOV export. By following the detailed steps outlined in this guide, you can easily convert M4V files to MP4 format using QuickTime on your Mac. HitPaw Video Converter is the ultimate solution for converting M4V to MP4 on Mac, offering unbeatable speed, quality, and versatility.


 HitPaw Watermark Remover
  HitPaw Video Object Remover
 HitPaw VikPea (Video Enhancer)


Share this article:
Select the product rating:
Joshua Hill
Editor-in-Chief
I have been working as a freelancer for more than five years. It always impresses me when I find new things and the latest knowledge. I think life is boundless but I know no bounds.
View all ArticlesLeave a Comment
Create your review for HitPaw articles